
On Advanced Panelboxes for Confluence
Panel boxes are useful to structure text on a Confluence page.
-
In Cloud, there is no generic panel macro anymore. There are only the standard Confluence panels (info, warning, etc.) that cannot be customized.
-
Using the app Advanced Panelboxes for Confluence, administrators can configure a set of Panelboxes in the app settings that will be available to all editors.
-
Editors can simply pick a predefined box and be sure to match the corporate design.
-
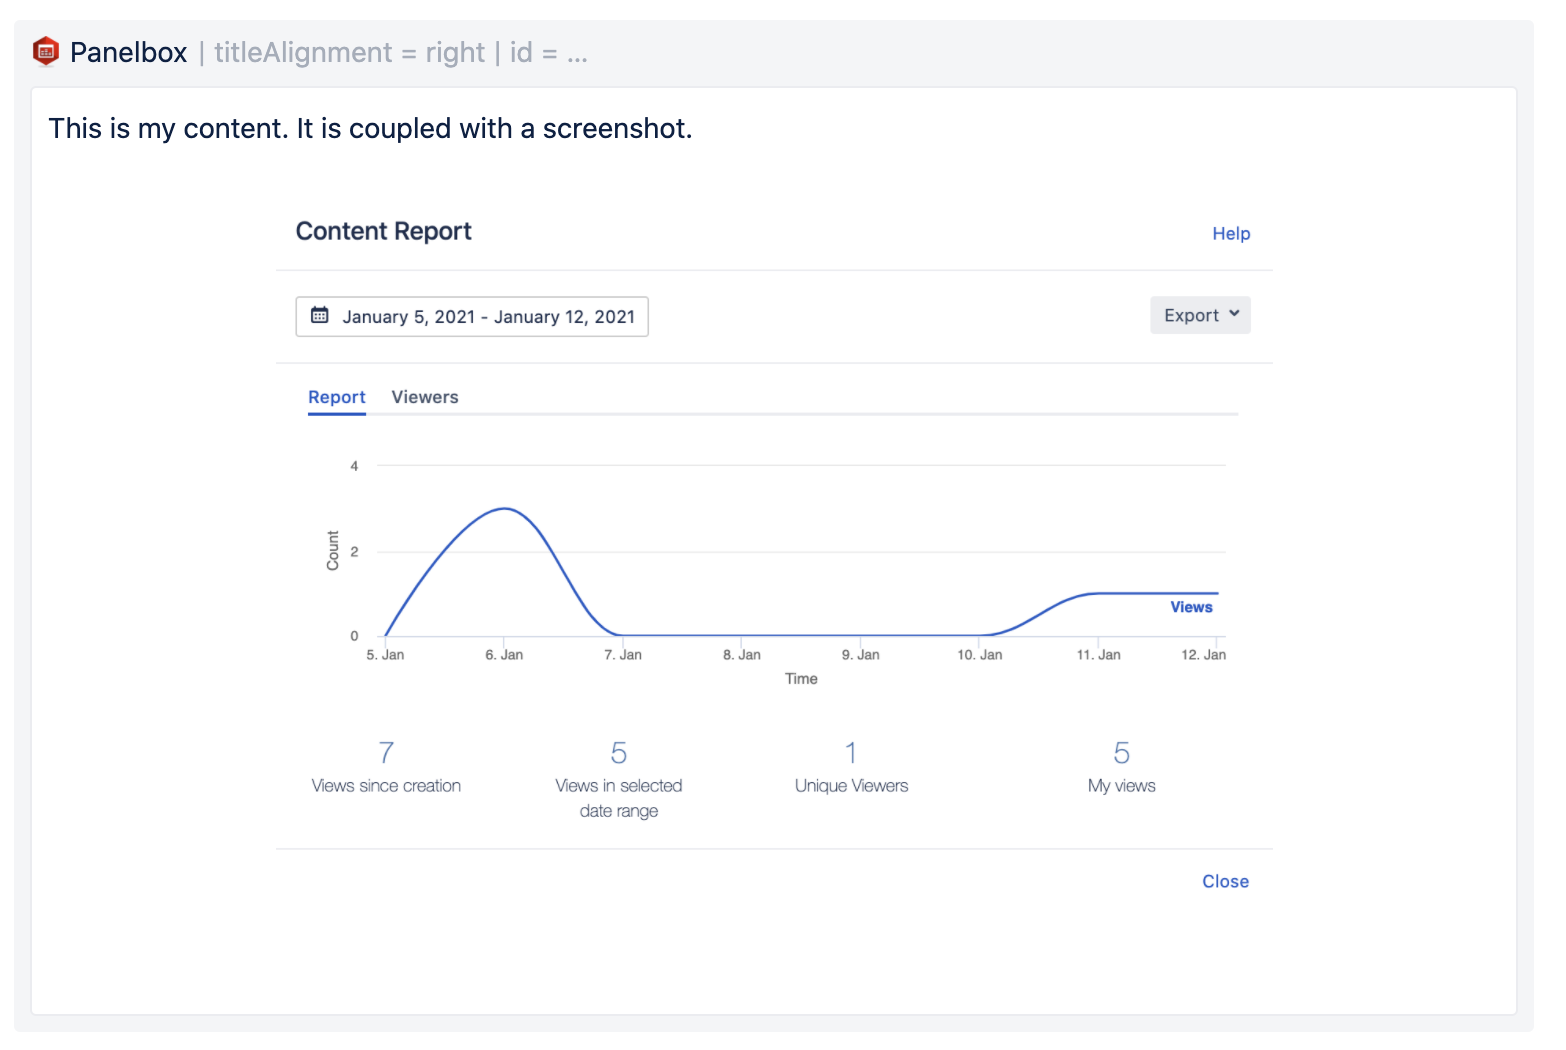
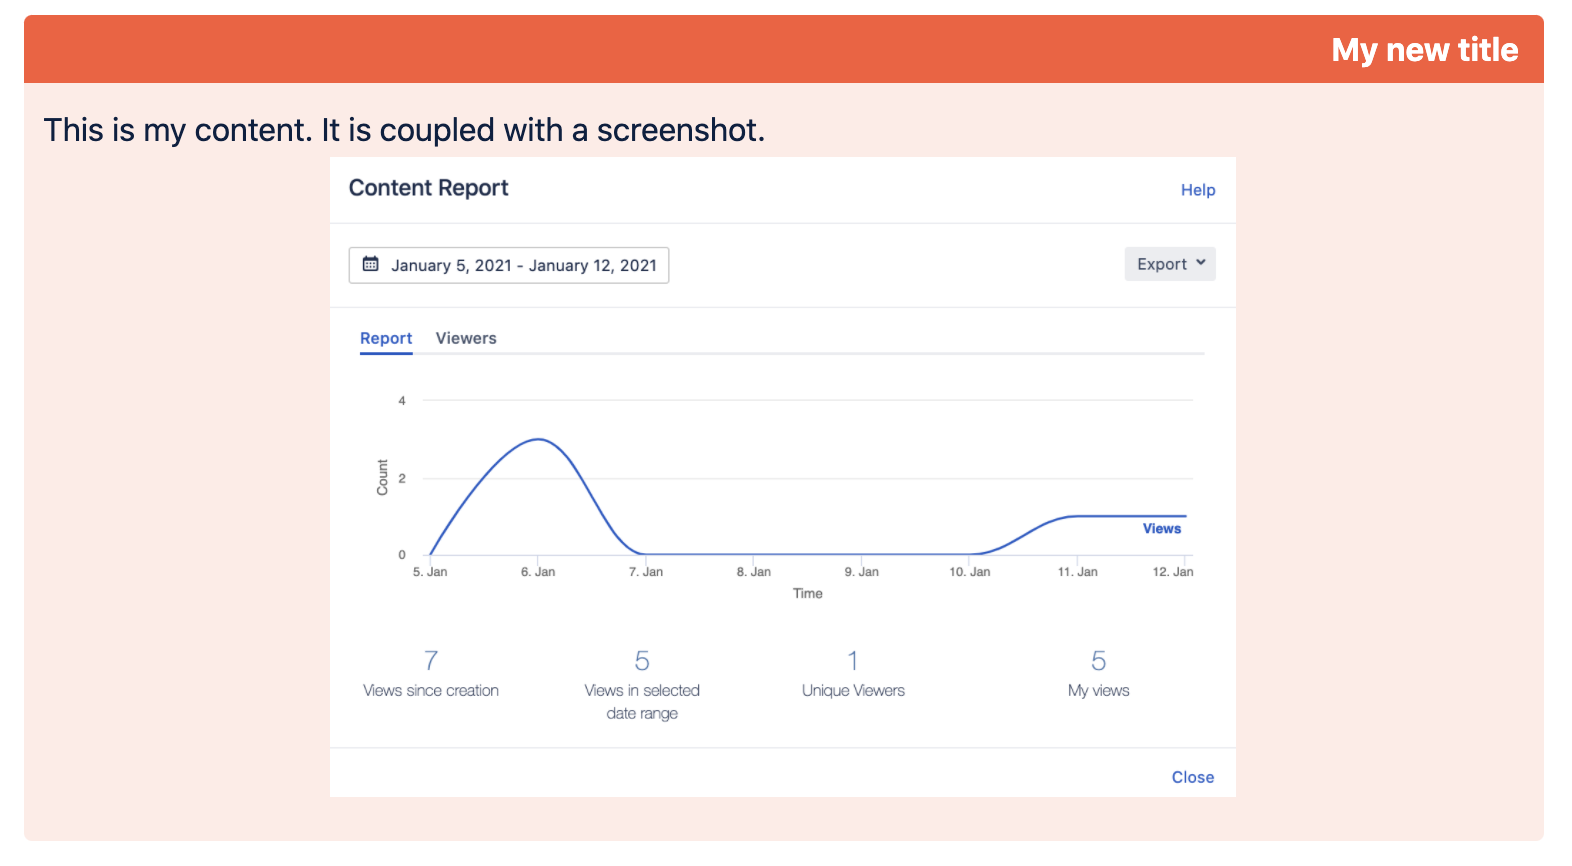
If the style of a Panelbox needs to be changed, those changes are made once in the app configuration. All the corresponding Panelboxes are changed immediately throughout the whole Confluence instance.
Screenshots
Using Advanced Panelboxes
-
In the Confluence editor, type "/panelbox".
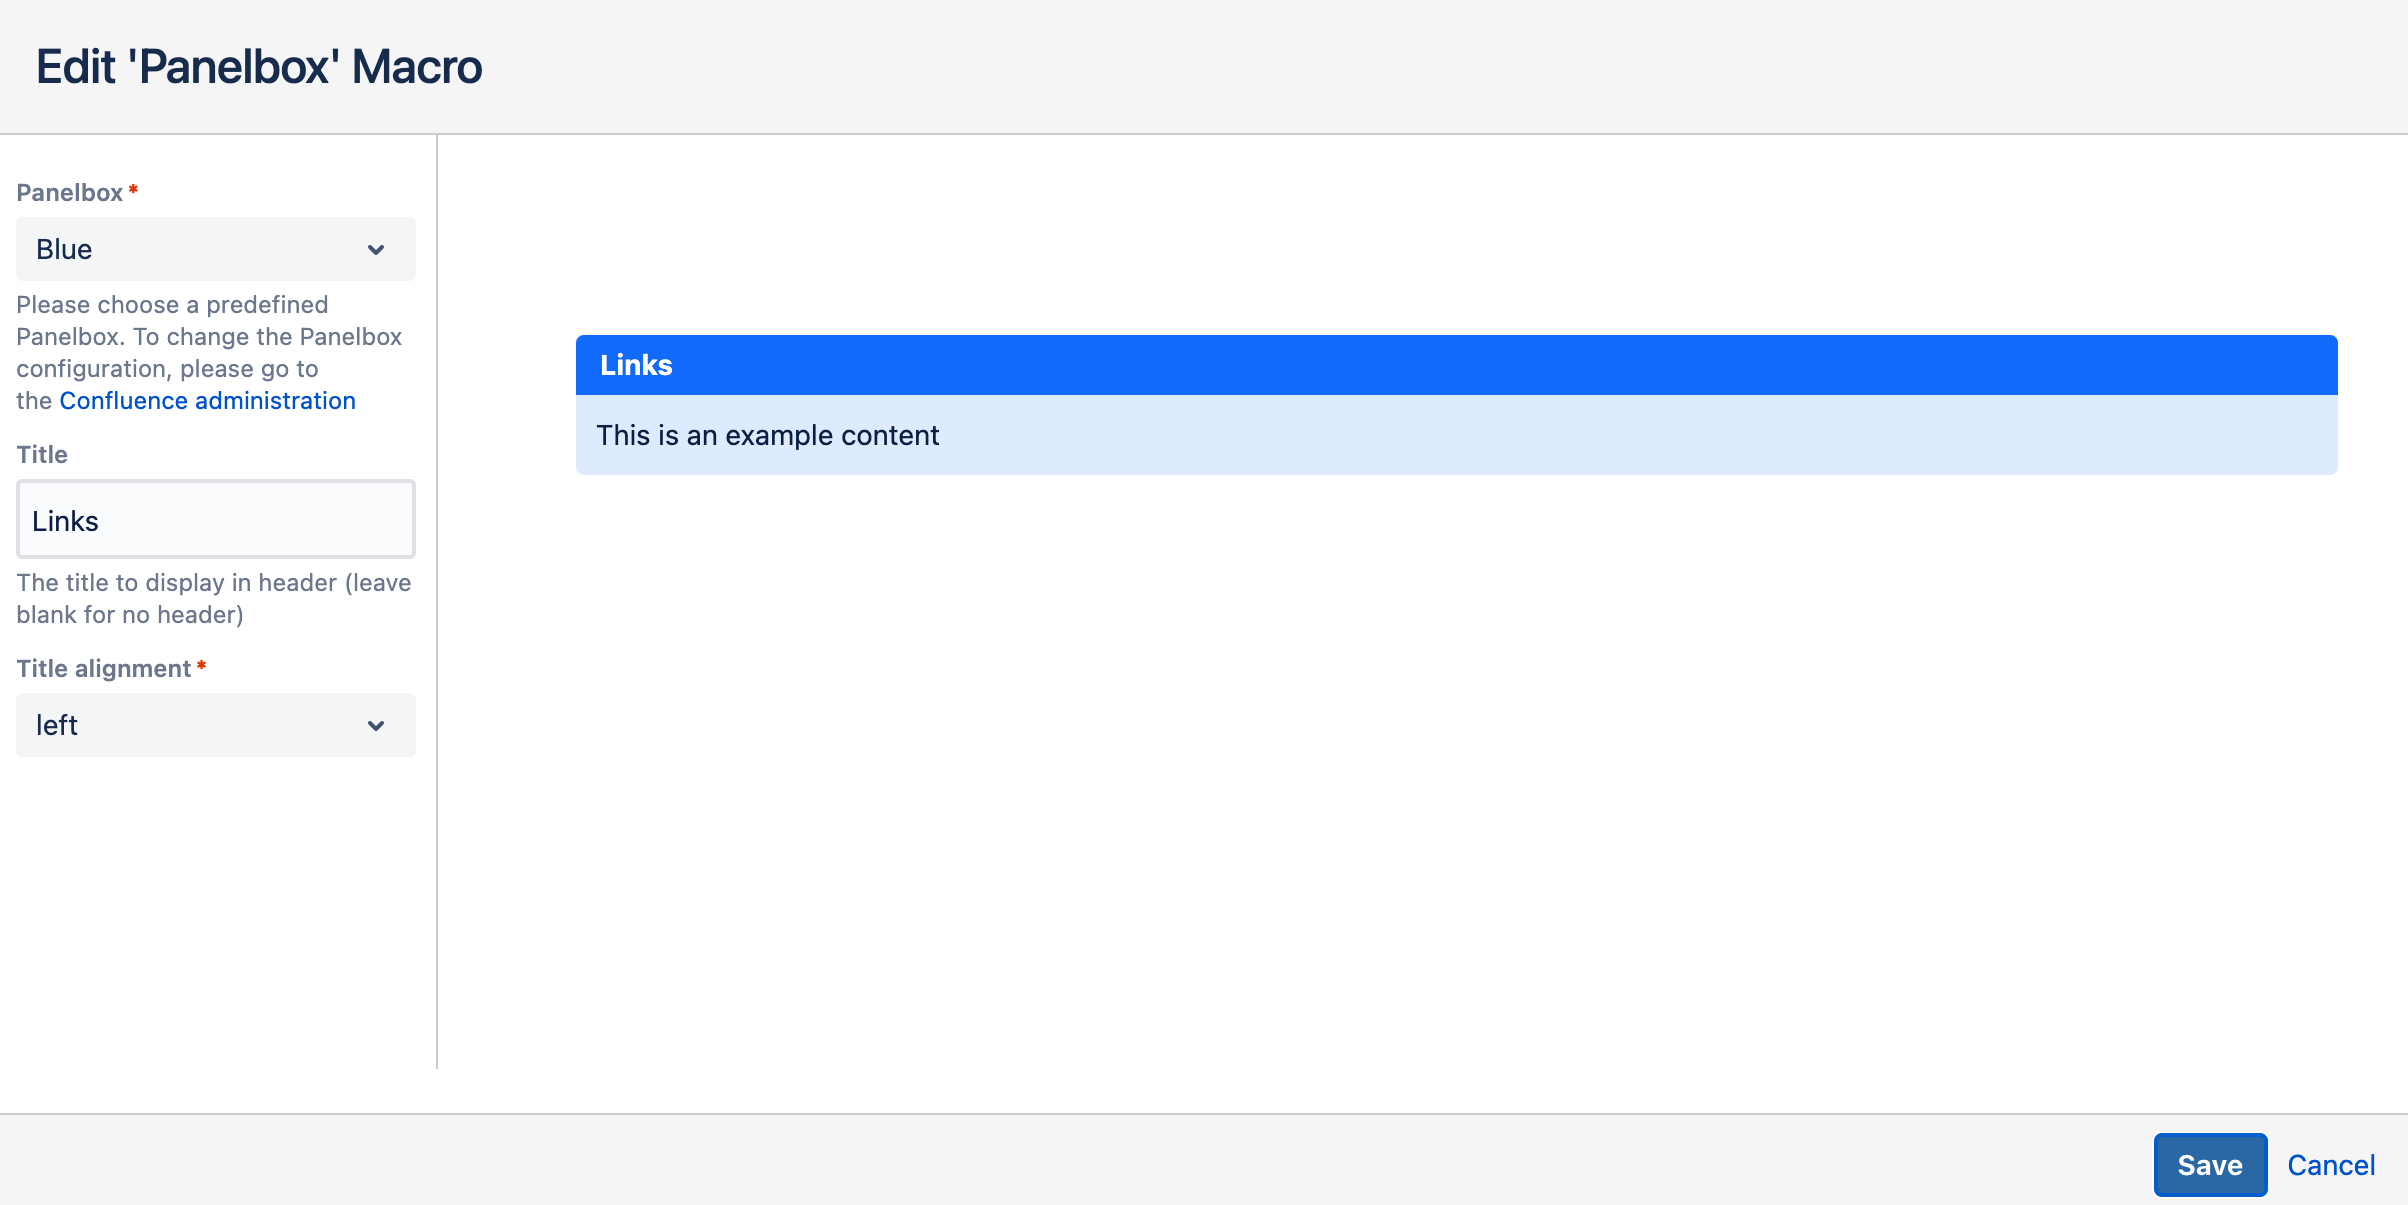
2. In the overlay, select one of the predefined Panelboxes (for example: "Red").
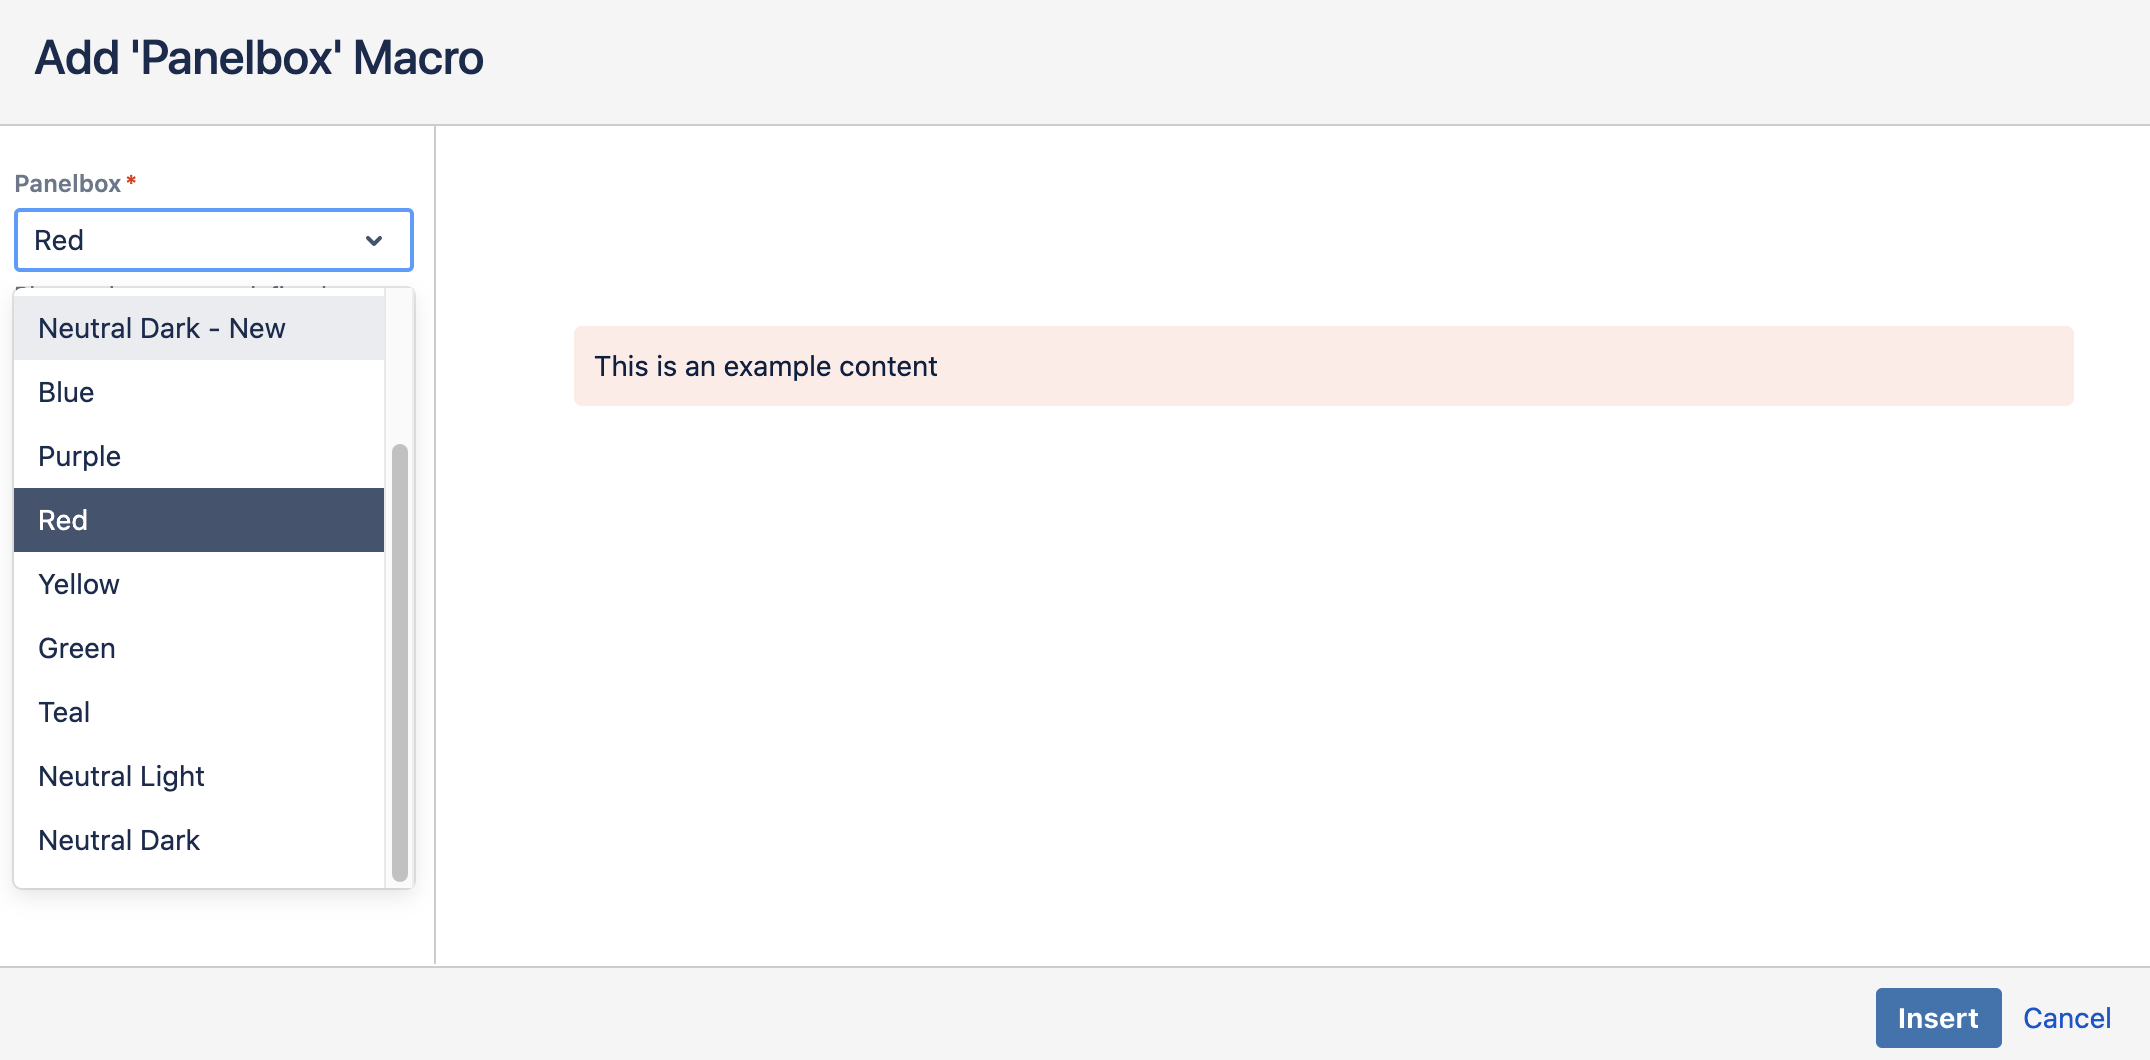
3. Optionally, give the Panelbox a title and decide on its alignment.
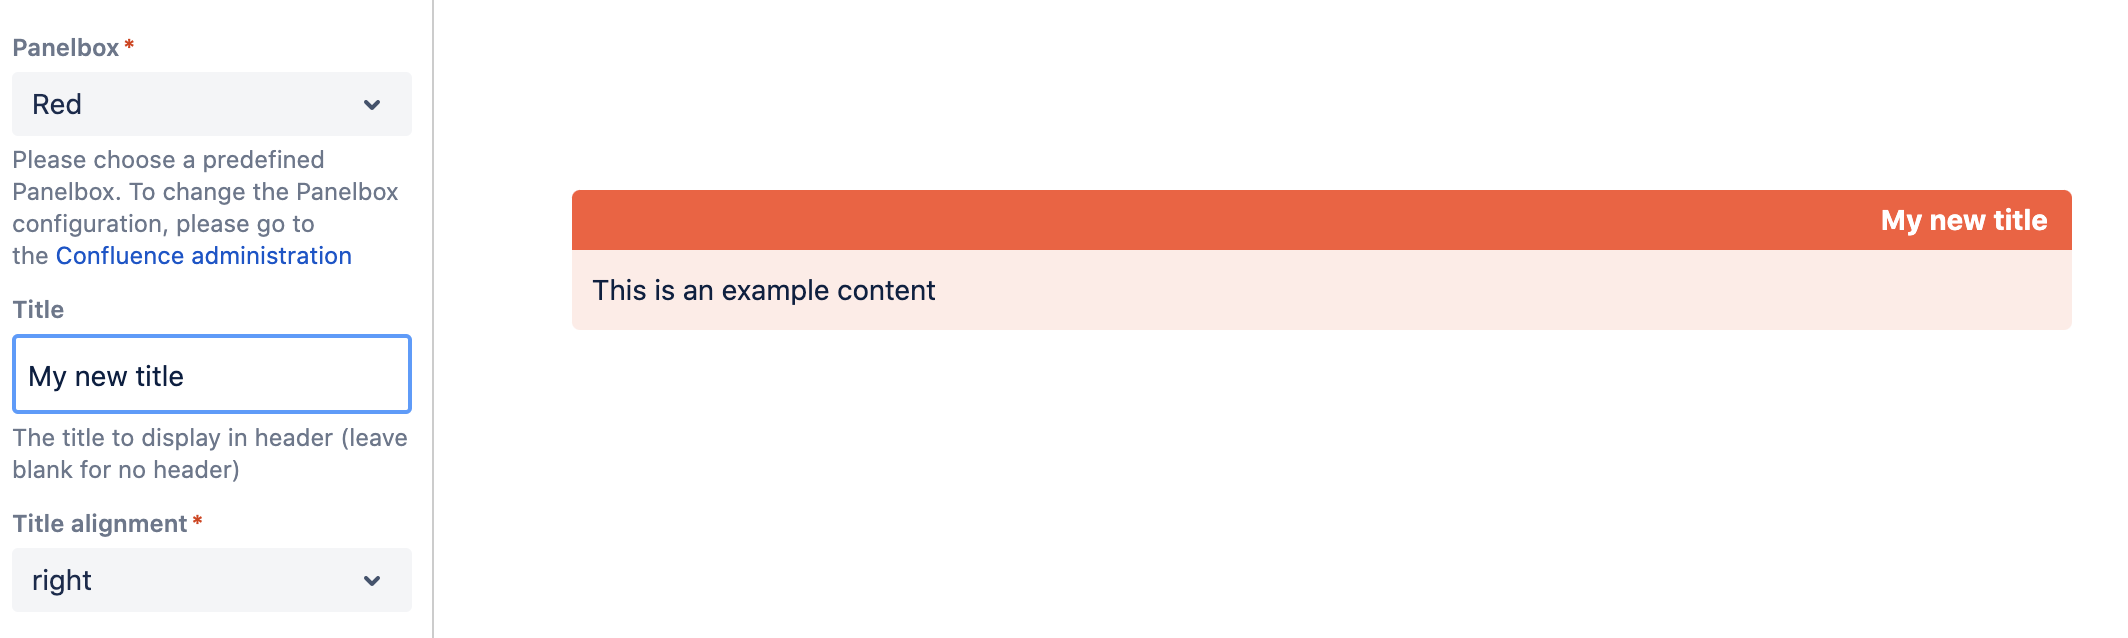
4. Click on the button "Insert".
5. Back in the editor, fill the Panelbox with content.
6. Publish/update the page when you are done.
7. The Panelbox "Red" is now part of your page.
Any changes to existing Panelboxes must be carried out by a Confluence Administrator (see instructions below). Changes to the original Panelbox configuration will impact all existing Panelboxes on Confluence pages.
Configuring Advanced Panelboxes
You need to be a Confluence Administrator to configure and add Panelboxes.
-
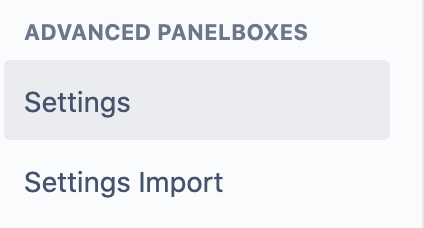
In the General Settings, select "Settings" under the entry "Advanced Panelboxes".
2. You will now see a list of the existing Panelboxes. These have been created when installing the app.
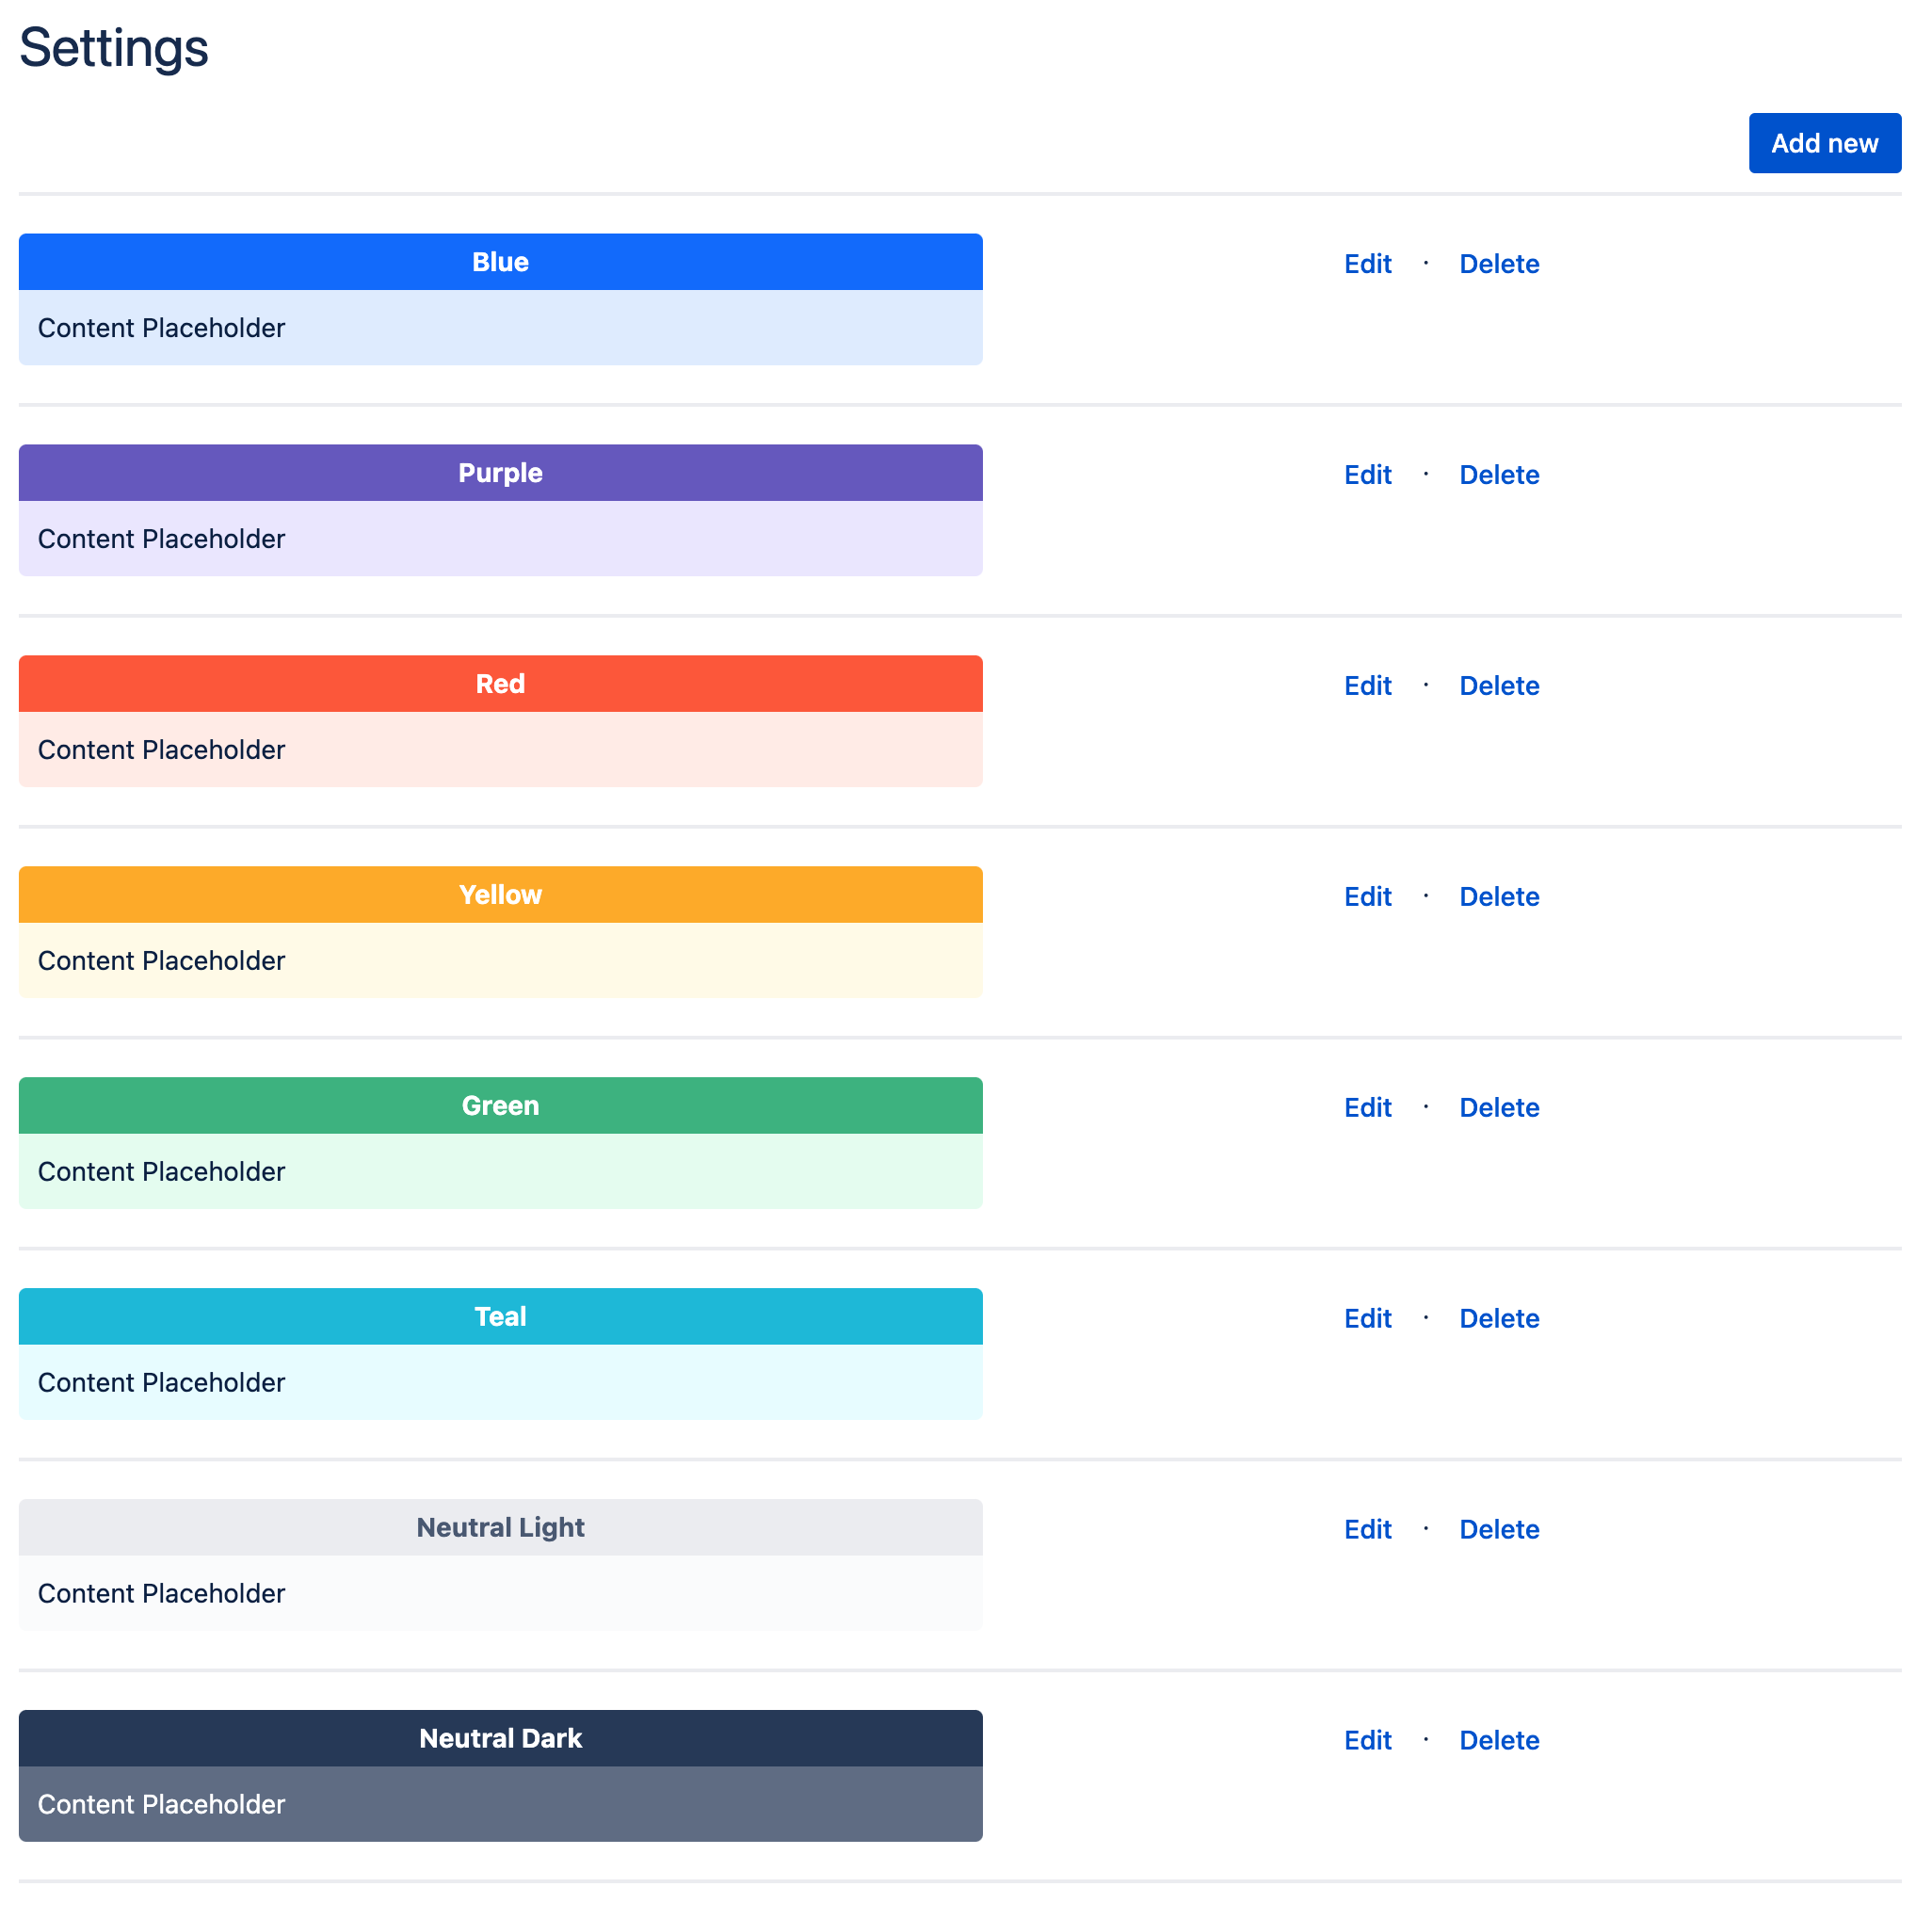
Configuring an existing Panelbox
-
Click on the "Edit" link on the right side of the Panelbox you want to edit.

2. Change any settings you like, then click the "Save" button.
3. The new settings will now be applied to all Panelboxes with the name "blue". No need to edit dozens of pages once a setting changes!
Adding a new type of Panelbox
-
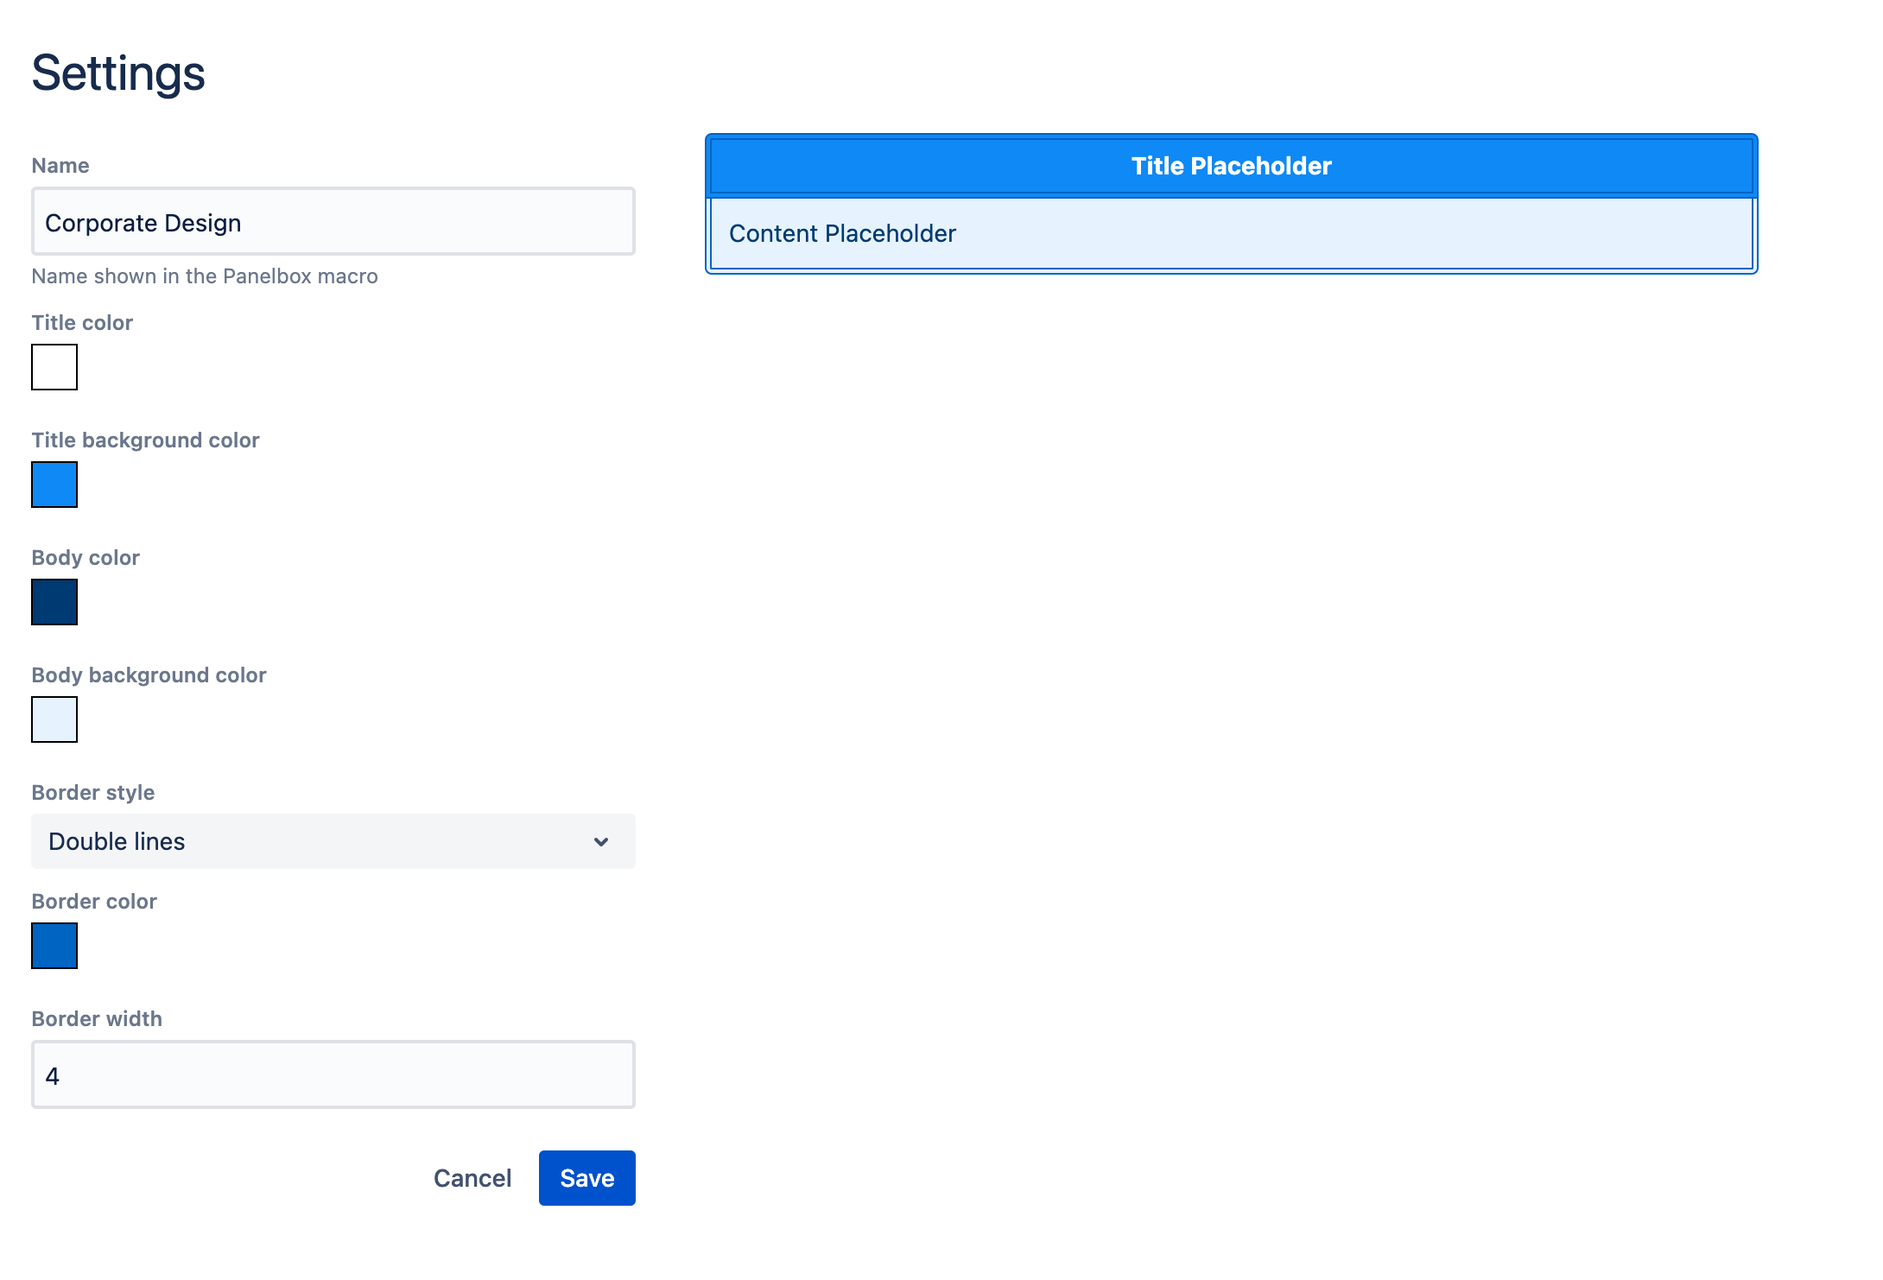
To create a new Panelbox, click on the button "Add New".
2. Give the Panelbox a name and add properties (colors, border style).

3. When you are happy with the preview, click the "Save" button.
4. Your new Panelbox may now be used anywhere in your Confluence.
Limitations
Currently, the following limitations are present:
-
Applying Confluence’s Dark Theme changes the text color and contrast, making it hard to read.
-
This is a limitation of Confluence itself. Atlassian is investigating it here: CONFCLOUD-83467.
-
There is unfortunately no workaround.
-
FAQ
Where is the content stored?
The app “Advanced Panelboxes” consists of a macro called “Panelbox”. This macro is placed on the Confluence pages and blog posts. Any content manually inserted into the Advanced Panelboxes macro will be saved directly in these Confluence pages and blog posts.
Accordingly, all content inserted in the Advanced Panelboxes macro will be stored in your Confluence Cloud data residency.
Only if you created custom panel designs, the information of these designs is stored on Communardos server.