
You need site administrator permissions to perform this step.
Open a site as site administrator.
Add the add-in to the site
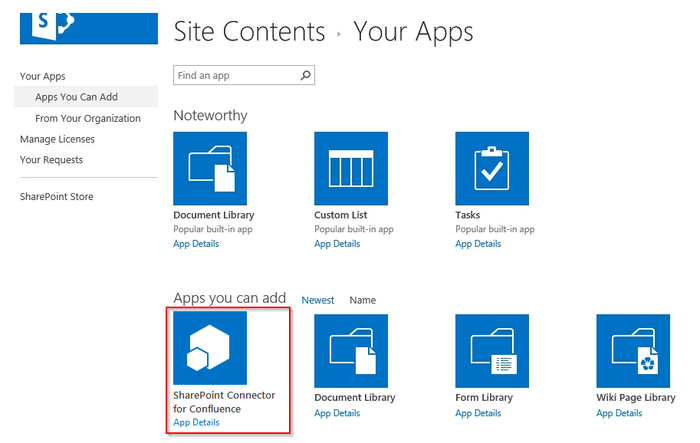
1. Click the cog icon to open the menu and choose Add an app and choose SharePoint Connector for Confluence under Apps you can add:
2. Trust the add-in:
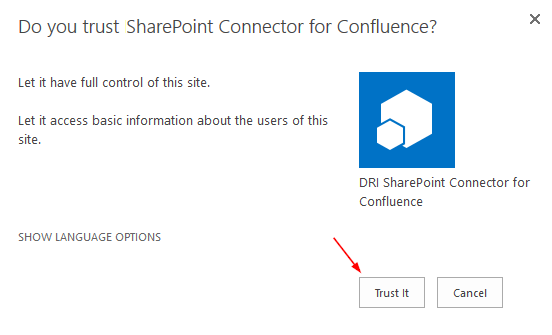
The add-in will be installed:

Check that you can add add-in parts (web parts)
1. Click the cog icon to open the menu and choose Add a page.
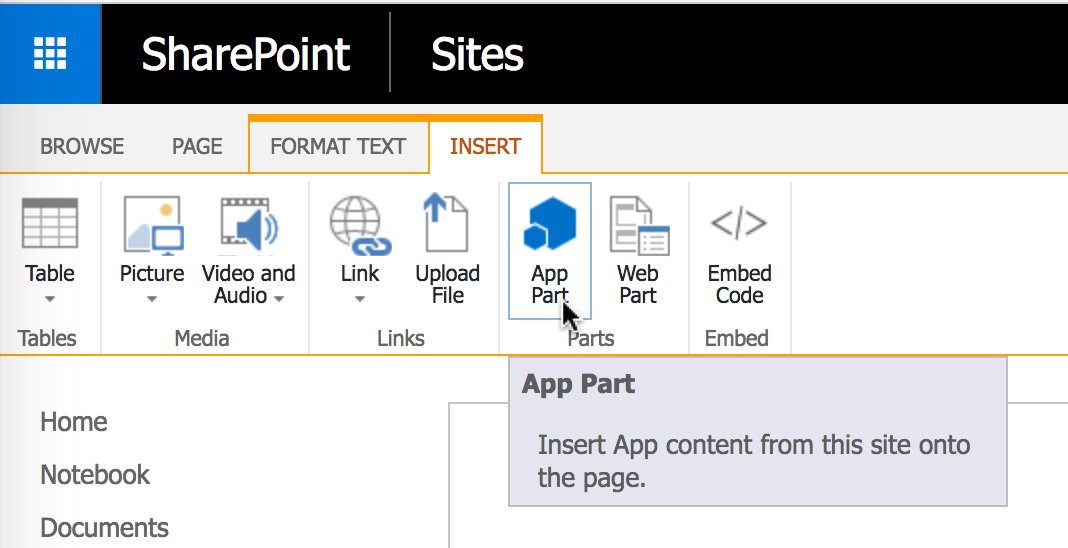
2. Add App Part via the menu:
3. Choose Confluence Content:
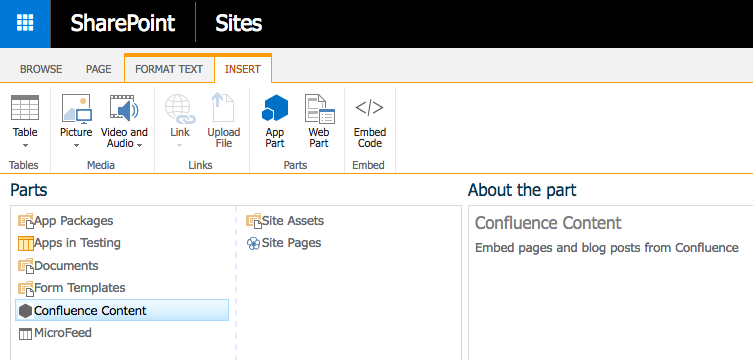
The add-in part should now be visible. Check that it behaves as expected and documented.